 |
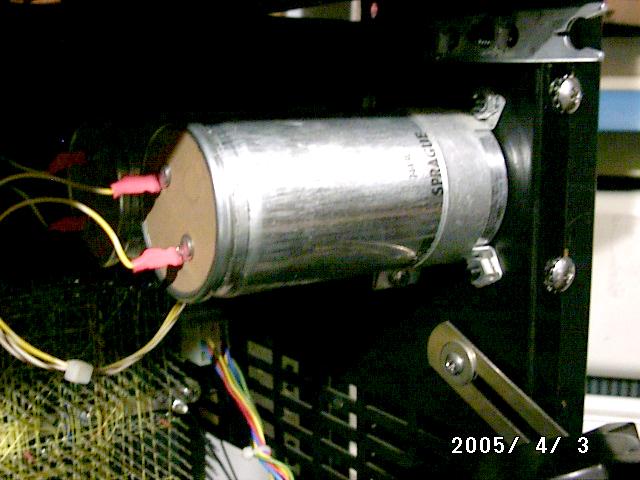
This is what the original equipment looks like. The capacitors in question
are large, non-polarized electrolytics, 100uf at 65V or so.
Large motor run capacitors don't seem to be available in this style of
electrolytic, anymore.
If you look at the cardboard top, you can see a circle where the vent area is.
This circle will pop out and ooze the guts of the capacitor in the event that
it overheats (which happens when you operate it after the capacitor has
failed).
|
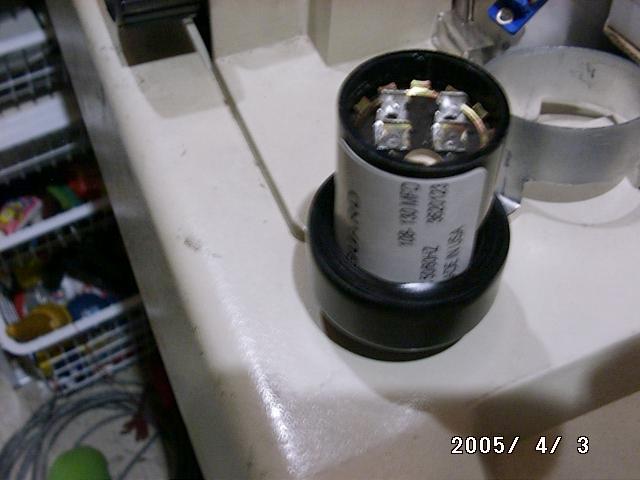 |
My first repair was simply to buy a suitable value of non-polarized
electrolytic (for about $7) and install it. Since the clamps want to grip
something with a diameter of 2 inches, I wrapped it in electrical tape until
it was wide enough for the TU56 clamp to grab it.
Recently, I was told that this was a "motor start" capacitor, not a
"motor-run" capacitor. Apparently, this means that it is not rated for
continuous duty.
|
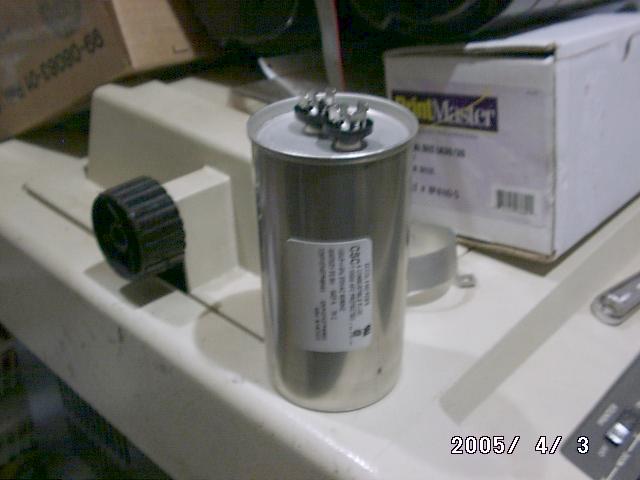 |
After pricing motor run capacitors, which tend to run $50-$70 each, I found
some on eBay for about $10 each. I purchased four of them, so I should be
set for a while. Anyway, these are oil-filled, non-polarized 100uf 370V
capacitors, rated for continuous duty. Total overkill for the job, but far
less expensive than the lower voltage capacitor, which are also very hard to
find.
These capacitors have a problem, though. Their diameter is 2.5 inches, not
2. As a result they will not fit in the TU56 mounting clamps.
|
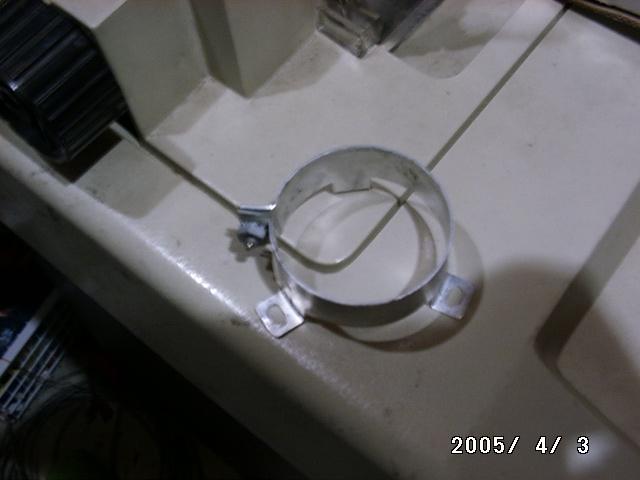 |
So, the first thing I did is remove the mounting clamp. Which was kind of a
pain, because the nuts have an interference fit with the vertical parts of
the tabs. Still, I was able to get it out of there without mangling it.
|
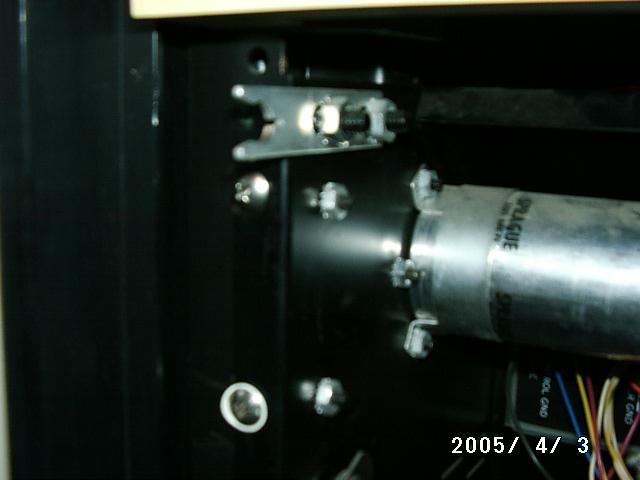 |
Then I discovered my next problem. The posts which mounted this clamp are
welded into the TU56. Since I don't really want to do any changes that
cannot be reversed, I didn't want to cut them out of there, and the new
capacitor didn't fit into the space between them.
That meant I needed a spacer, to get the new capacitor mounted above
the mounting screws. I went ahead and put the nuts back on, so they wouldn't
get lost, and began thinking about suitable spacers.
|
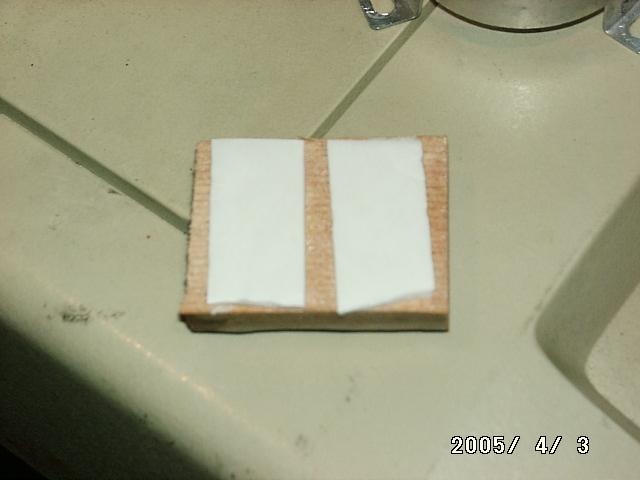 |
After worrying about spacers and nuts for a while, I decided that I was
overkilling the problem. Here is my low-tech solution. A simple wooden
block, of sufficient thickness. On each side are a couple of strips of
strong double-stick foam. The foam is the kind that is supposed to be permanent, and carry up to a couple of pounds.
I had some worries that the foam wouldn't hold up, so I taped a capacitor
to the side of one of my racks, and waited a few days. There were no signs
of any problem, so I peeled it off of there. That reassured me that this
was the correct foam (it delaminates when you try to remove it), and that
the adhesive and foam residue could be removed, if needed to reverse the
modification.
|
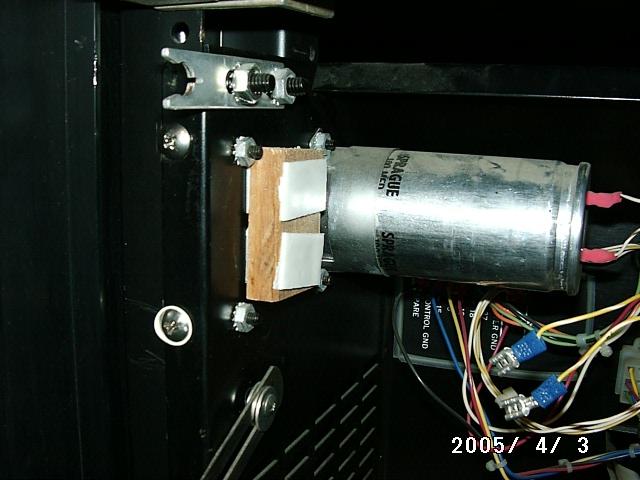 |
Here is the wooden block stuck between the TU56 capacitor mounting posts.
|
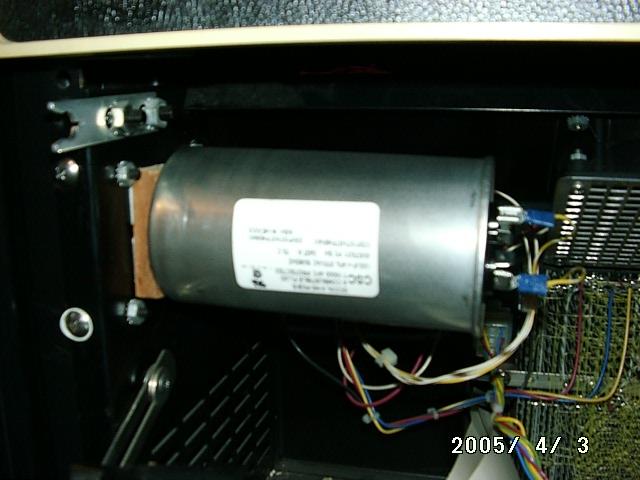 |
And here, finally, is the new capacitor, stuck in place, and the wires
attached.
I am told I should really replace these in pairs, but I don't really
understand why, as each capacitor seems to go to a different motor.
|